![]()
EARLIER FEATURES
![]()
FEATURES CONTENTS
![]()
LATER FEATURES

|
|
|
|
| 13th May 2014 | USING WINDOWS 7
|
Brian Grainger
|
|
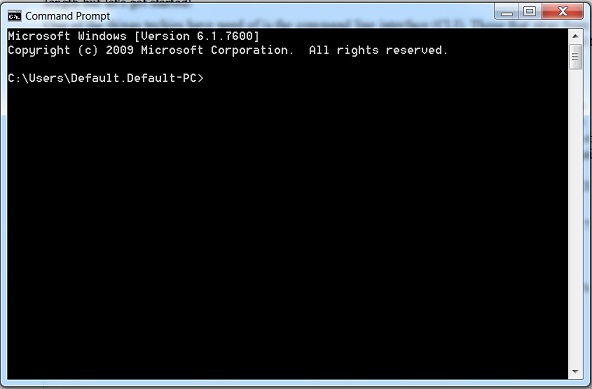
Last time, after discussing 'Focus' in Windows Explorer, I said I was going to discuss the good points about Windows Explorer in Windows 7. I will have to pad this article out to make it any length but let's get started! One of the things techies have need of is the command line interface (CLI). Those that stray from Windows to Linux are often afraid that they will not be able to use Linux because there is a need to know the command line. This is rarely true nowadays, you can do most things in Linux using a graphical user interface (GUI). A command line is an integral part of Linux so that it is there when it is needed. It is usually the more technical user that needs it. Either the GUI is just not capable of providing the technical function or, more often, it is more cumbersome or slower than the CLI equivalent. This is just as relevant to Windows as it is to Linux. To do without the CLI, despite the braying of non-technical users to throw it out, is not an option. They are happy for techies to use whatever tools they need to get them out of a mess when their precious GUI goes wrong/slow/attracts malware but when all things are fine again they get on their high horse saying the CLI is an anachronism of the past that should now be disposed of. Many add on utilities, for Windows as well as Linux, are the result of wanting a GUI equivalent of something that had been done previously using the CLI. In all version of Windows there is a means of invoking the CLI. On Windows XP and Windows 7 one traverses the menus to: Start - (All) Programs Accessories Command Prompt This will start the CLI pointing at a default folder, on Windows 7 the top level folder of the user's profile.
More often than not the user will require to be in another folder and some cumbersome change directory command will be required. Even more often, the techie user is moving around Windows Explorer and suddenly realises they need to be using the CLI pointing at a folder displayed in Windows Explorer. This is often the quickest way to get a print of a folder's contents. (Go to the CLI ponting within the folder and then dir > prn). With the basic Windows XP this was not possible to achieve. By editing the registry it was possible to add a Command Prompt shortcut to the context (right-click) menu of Windows Explorer. With this, a user can right-click any folder within Windows Explorer, select command prompt and the CLI would be opened pointing at the desired folder. An alternative approach was to place a shortcut to the Command Prompt, (with suitable parameters), in the Send To folder. The Send To option is already on the context menu of Windows Explorer so the user goes there and selects the Command Prompt shortcut. Both of these techniques are described in my Quick Exit to DOS Prompt article. With Windows 7 Windows Explorer has been improved to add a context menu entry to 'Open command window here'. The only slight wrinkle is that Microsoft think this is far too dangerous an option for non-technical users so they hide it! You expose the extra option by pressing the shift key as you right-click the folder! As I write this article I have just noticed another thing that occurs when pressing shift as you right-click on folders within Windows Explorer. It shows the keyboard shortcuts for the items on the context menu. These were not displayed at all in Windows XP, shift or no shift. Another improvement for Windows 7! Before leaving this topic of the CLI I have an exercise for you. Using Windows Explorer in Windows 7 try and find the following folder: C:\Users\Default.Default-PC\AppData\Roaming\Microsoft\Windows\Recent\AutomaticDestinations (replace C:\Users\Default.Default-PC\ with wherever your user profile happens to be.) When you have given up and think you do not have a folder called AutomaticDestinations then go the C:\Users\Default.Default-PC\AppData\Roaming\Microsoft\Windows\ folder and go to the CLI as described above. Note you cannot go to Recent because, being a special folder, the shift right-click trick does not work. When you have got to the CLI move to the Recent folder by typing the following and hitting Enter: cd recent Now list the folders in the Recent folder by typing the following and hitting Enter: dir *. You will see that AutomaticDestinations really exists. You just cannot see it, or its contents, from the GUI. The only way you can see the contents of that directory from the GUI is to type its full address into the address bar of Windows Explorer. That's an example of why techies need a CLI in Windows! You might well ask why you need to see this AutomaticDestinations folder. This folder, along with the CustomDestinations folder below it in C:\Users\Default.Default-PC\AppData\Roaming\Microsoft\Windows\Recent\, contain files that hold the data which defines the jump lists for associated applications. There is one file per application. However, these files get bigger and bigger despite the size of the jump lists being limited. When items disappear from the jump list they do not disappear from these files. At some point the files may get so large you wish to recover the space (by deleting the files and letting them build up again). At this point you will need to access these 'hidden' folders. This happened to me at work. Over a period of 16 months these files got larger and larger until they took up over half of my allocated roaming profile space. I was just about to start some major deletions when the administrators must have found out they could exclude these files from the count of profile space used. One day my free profile space suddenly jumped by the total size of these files! In an earlier article, 'Using Windows 7 The Desktop and Orb', I mentioned that the My Recent Documents button on the Windows XP Start Menu had been replaced by the jump list feature in Windows 7. Nevertheless, a list of recent documents and folders accessed is still kept in Windows 7 in the C:\Users\Default.Default-PC\AppData\Roaming\Microsoft\Windows\Recent\ folder. Essentially this folder hold shortcuts to folders and files accessed.
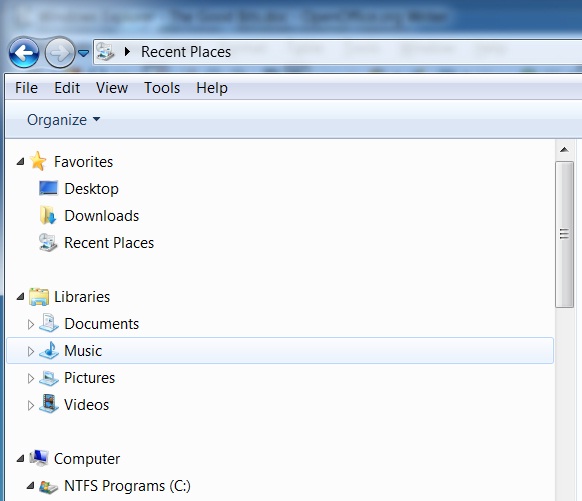
Windows 7 has added a brand new feature to Windows Explorer that I find really useful, the concept of 'Recent Places'. When you open Windows Explorer you will find, at the top of the Navigation Pane, Favorites, which contains Desktop, Downloads and Recent Places. Recent Places holds all the folders that you have been to. If you sort this folder in date order, most recent item first, you are able to locate folders that you have used in previous sessions VERY QUICKLY. As all my work is task based with one folder per task I am ALWAYS using this feature to quickly go to the task folder of interest as I work on my various tasks. This new feature helps to compensate for the apparent loss of the Favorites feature that used to be in Windows Explorer for Windows XP. I say apparent loss because it is still possible to display a Favorites folder but there are no longer any simple ways of adding to the Favorites from Windows Explorer. (There are complicated ways!). The Recent Places feature also compensates for the loss of 'My Places' from the latest Microsoft Office versions. Being located in Windows Explorer, Recent Places works across all applications, not just Microsoft Office, and is a real improvement over My Places. I think I will quit this article while I am still upbeat about Windows Explorer. After all, this piece was about the 'good' bits. Next time it will be back to the 'features' that make my temperature rise! |
|
|
|
|
|
|
|
|
|
|